Packaging Files in InDesign
When preparing complex print projects, we recommend submitting native InDesign files instead of flattened PDFs. Native files provide our prepress team with full access to layers, fonts, linked assets, and color settings, helping us to make precise adjustments that ensure the highest print quality.
If you do choose to submit a PDF, it’s essential to convert all artwork to CMYK (4-color process), unless you’re using true spot colors (such as brand Pantones or dielines). RGB images and improperly managed color profiles can result in unexpected shifts during printing.
Why Package Files?
Using InDesign’s “Package“ feature ensures that all the necessary elements—fonts, linked images, color profiles, and instructions—are collected into a single, organized folder. By packaging your files, you prevent assets from going missing and allow your printer to identify potential issues early, avoiding costly delays or errors in production.
How to Package Your InDesign File (Step-by-Step)
- Clean Up Your File
- Delete any unused layers, swatches, or styles.
- Remove any elements left on the pasteboard that are not intended for final output.
- Check for hidden or non-printing elements that may still be relevant, such as varnish or dieline layers.
- Convert Colors to CMYK
- Ensure all print artwork (images, fills, strokes) is in CMYK.
- Spot colors should only be used for special inks like Pantones, white ink, or dielines.
- Avoid submitting files with RGB or LAB images, as they may convert unpredictably.
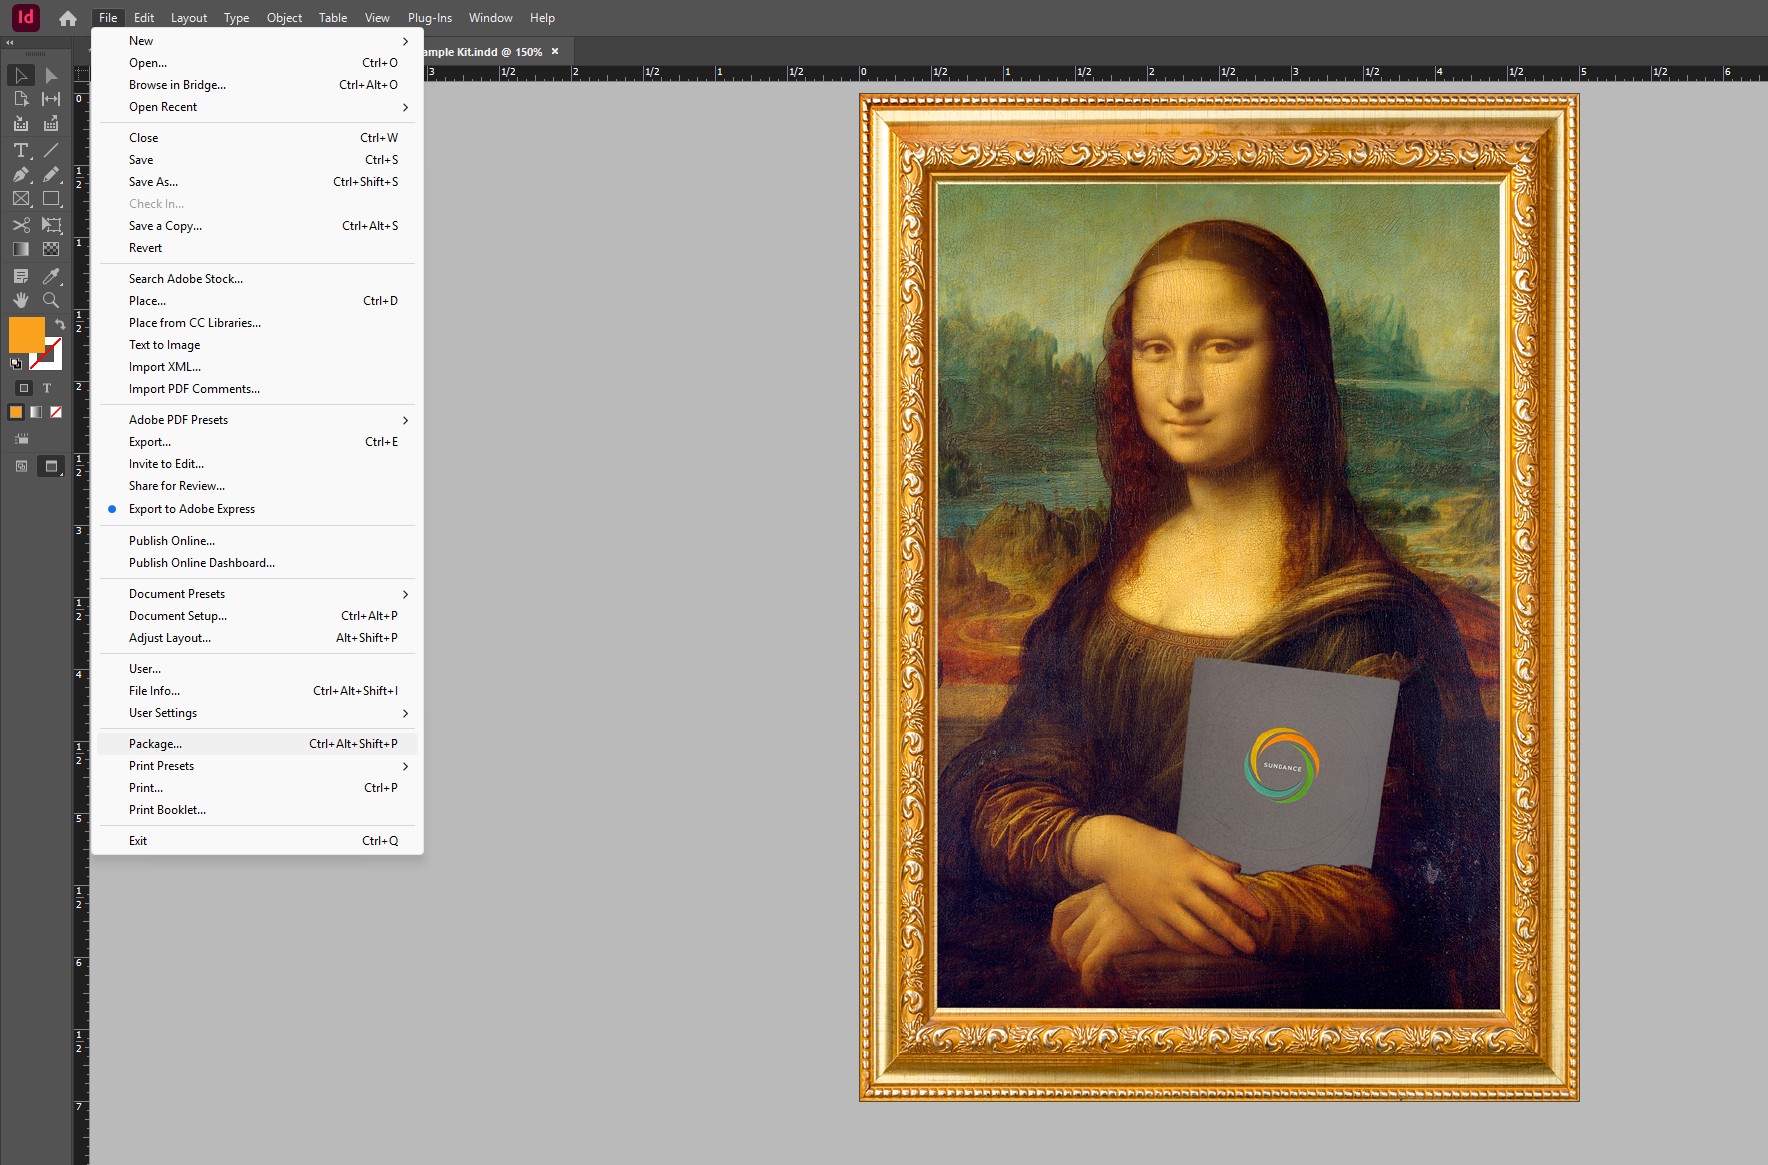
- Go to File > Package
- InDesign will run a Preflight Summary that alerts you to:
- Missing fonts or links
- RGB images or low-resolution assets
- Use of spot colors or other color issues
- InDesign will run a Preflight Summary that alerts you to:
- Review Each Tab Carefully
- Fonts: Confirm all fonts are listed and will be included, ensuring accurate reproduction and avoiding font substitution.
- Links and Images: Verify that all linked images are properly embedded and have a resolution of at least 300 PPI for print.
- Colors and Inks: Check for any unintended spot colors or RGB profiles.
- Enable “Include Fonts and Links from Hidden and Non-Printing Content”: Crucial for preserving anything on hidden layers (such as embellishments, white ink, or structural elements like dielines).
- Package the File
- Follow the prompts to create a packaged folder containing:
- The INDD file
- All fonts
- All linked images
- An IDML version (for backward compatibility)
- A PDF or instructions file (optional, but recommended)
- Save the package folder in a clearly labeled location.
- Follow the prompts to create a packaged folder containing:
- Compress the Folder
- ZIP the entire packaged folder before sending.
- If you’re using a Mac, ZIP the file on a Mac system to preserve font data correctly (Mac fonts can lose metadata if zipped on a PC).
Sending Your Files
Once zipped, you can send your packaged file to us via your preferred file transfer method (Dropbox, WeTransfer, etc.) or by uploading to our FTP. Be sure to include any special instructions, such as print finishes, varnish zones, white ink layers, or dieline placements.
Final Tips for Print-Ready Success
- Naming matters: Use clear and descriptive file names (e.g., ClientName_ProjectName_Version1.indd)
- Keep layers organized: Name layers logically (e.g., “Artwork,” “Dieline,” “Varnish,” “White Ink”)
- Double-check Overprint settings: Misused overprint settings can cause issues with white ink and varnishes.
- Flatten transparencies only when necessary—leave layered files intact when submitting native files.
By following this process, you’ll help us streamline prepress, reduce turnaround times, and ensure your printed piece comes out exactly as you envisioned. If you have any questions about file prep, our team is always happy to help!